What to Do When Your Washer Won't Drain: Troubleshooting Guide
Urgent, step-by-step troubleshooting for a washer that won’t drain. Learn common causes, quick fixes, safety tips, and when to call a pro from Drain Guide.

Understanding why washers stop draining
When a washer won’t drain, it disrupts your daily routine and can lead to standing water and odors. The root causes are usually straightforward: a clog in the pump filter, a kinked or blocked drain hose, or a malfunctioning lid switch in top-load machines. Start with the simplest checks first to avoid unnecessary disassembly. Drain Guide emphasizes that most drain failures are user-serviceable with basic tools and careful safety practices.
Safety first: unplug, drain residual water, and clear the area
Before you touch any moving parts, unplug the washer and turn off the water supply. If there’s standing water in the drum, carefully bail it out into a bucket or towels. Use a flashlight to inspect the drain hose and pump area for obvious blockages. Wear gloves and avoid forcing parts; resistance can indicate a more serious fault.
Common causes you should know
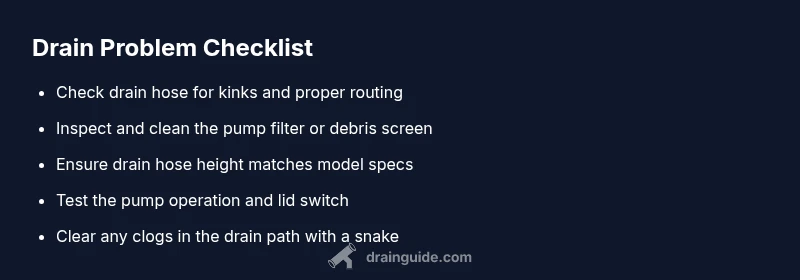
The likely culprits fall into a few categories: a clogged pump filter or debris screen, a kinked or blocked drain hose, an elevated drain hose position, a malfunctioning lid switch (for some top-load models), or a jam in the pump impeller. Debris such as coins, buttons, lint, or hair can accumulate and jam the pump over time. Addressing these issues early saves costly repairs later.
How to read the symptoms and codes
Many washers display error codes that point to the problem area. Listen for the pump’s humming versus a grinding sound. If you hear the pump running but water isn’t leaving the drum, it’s often a hose or filter issue. If you hear no pump noise at all, electrical or control faults may be involved. Record any codes and model numbers before you begin.
Diagnosing visually: hoses, filters, and the pump
Visually inspect the drain hose for kinks, pinches, or siphoning into the wrong location. Locate the pump filter or debris screen (usually behind a small access panel at the bottom front). Remove any visible debris with gloves and a damp cloth. Be prepared for some residual water to spill when removing covers.
Step-by-step: start with the simplest fixes
Begin with the easy wins: straighten the drain hose, remove visible debris, and clear the pump filter. If that doesn’t resolve the issue, proceed to deeper checks such as the pump’s impeller operation, door/lid switch testing, and the electronic control for fault codes. Always unplug between steps to stay safe.
When you should avoid DIY and call a pro
If you encounter a stubborn clog in the drain line, a suspected faulty lid switch that won’t allow draining, persistent error codes that you can’t reset, or if water leaks beyond your ability to safely manage, contact a licensed appliance technician. Drain Guide recommends professional help when electrical components or control boards are involved.
Tools you may need
- Screwdrivers (Phillips and flathead)
- Pliers or needle-nose tweezers
- A flashlight and towels for leaks
- A bucket to catch residual water
- A drain snake or flexible auger (carefully, for stubborn clogs)